When spring arrives, you’ll want to get out and enjoy your swimming pool as quickly as possible. For this to happen, it can be a good idea to prepare your swimming pool for winter after the swimming season, also known as ‘winterisation’. This will save you a lot of time when the warmer weather arrives. Working through the following steps will allow you to enjoy your pool again as soon as the sun comes back out.
The steps below are a recommendation and may differ from the instructions provided by your pool supplier or manufacturer. Always follow the instructions provided by your pool supplier or manufacturer.

Nieuws item niet gevonden
Step 1
Subtitel
Start by cleaning the pool thoroughly by removing all twigs, branches, leaves and other dirt from the pool and vacuuming or scrubbing the bottom and the walls. Then, add additional chemicals as needed. Start with pH Plus or pH Minus, and then chlorine. Completing this step will make it a lot easier to ready the water for swimming next spring. Make sure to keep chemicals out of the reach of children at all times.
Step 2: reduce the water level
Subtitel
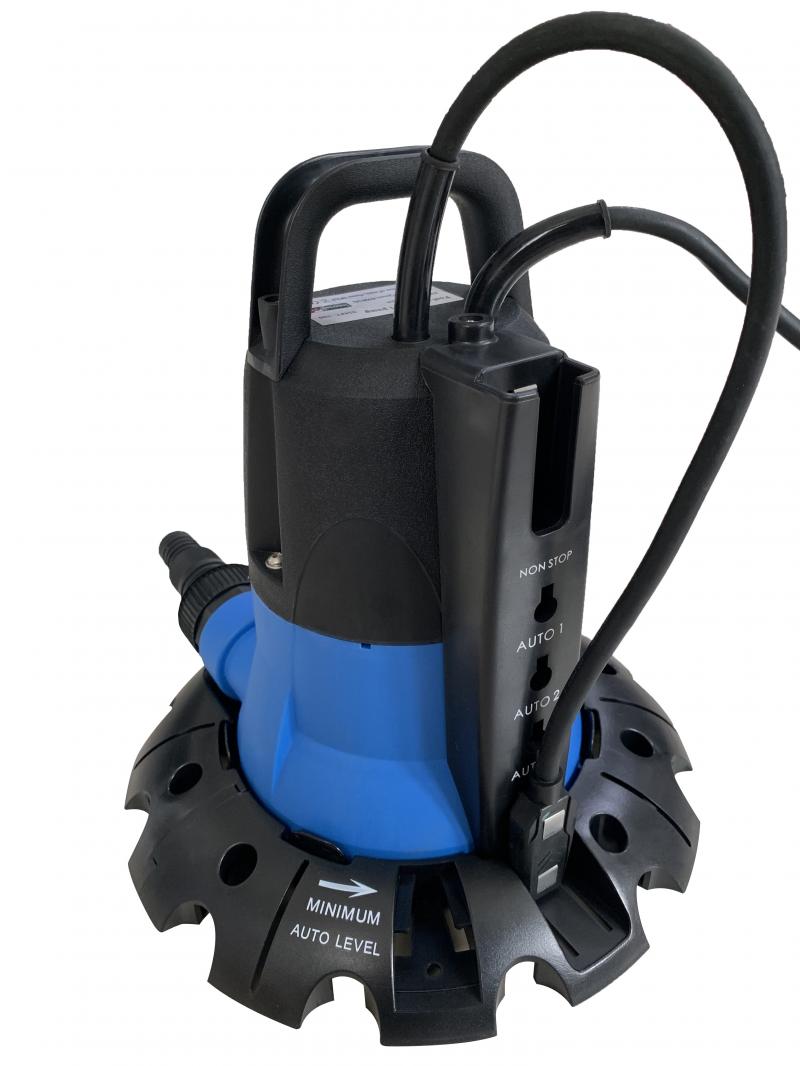
In winter, it’s important to protect the built-in components of the pool from frost. Spray nozzles and skimmers are at risk of cracking in heavy frost. Reduce the water level in the pool to below the lowest skimmer or spray nozzle. To do this, you can use the backwash function on your filter pump. Not possible with your filter pump? Then you can use a submersible pump instead. Once you have lowered the water level, you will probably see a dirt edge level with the former water level. You can clean this dirt edge with a sponge or a brush.
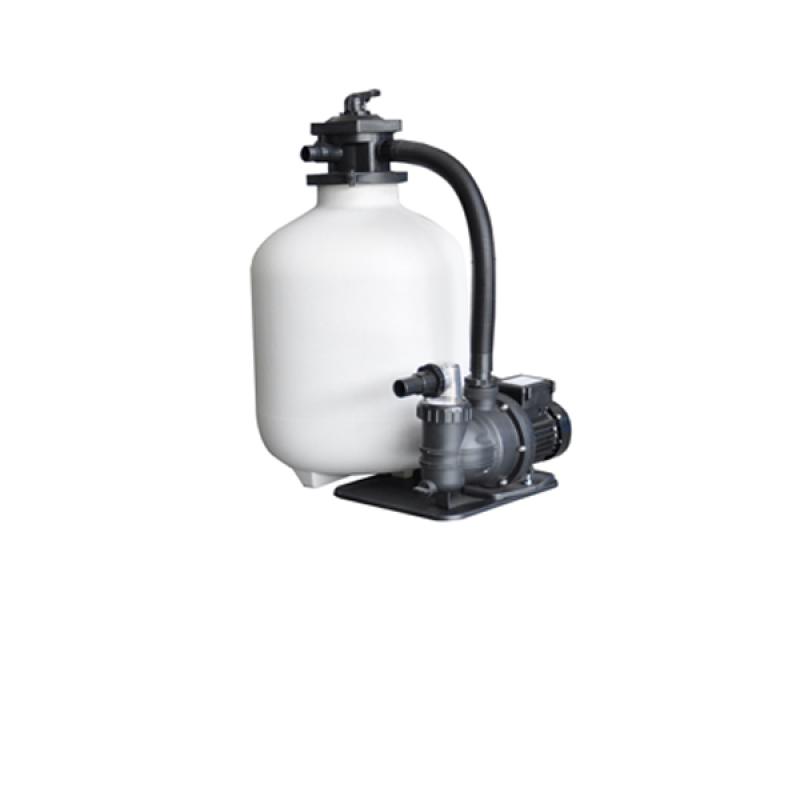
Step 3: prepare your pool equipment for winter
Subtitel
Your fibreclean or sand filter should also be readied for winter as these can break in heavy frost. The instructions for winterising the pump vary from one pump to another, so make sure to follow the instructions provided by the supplier or manufacturer. The steps will typically be something similar to the following:
1. Undo the couplings on the pump and the tap.
2. Remove all O-rings and store them in a dry place (tip: grease them immediately).
3. Drain the filter vessel via the drain plug at the bottom of the vessel.
4. If necessary, replace the filter medium (often after five years).
5. Unscrew the pressure gauge, if present, and drain the pool heater.
6. Finally, remove all remaining water from the pump via the drain plug.
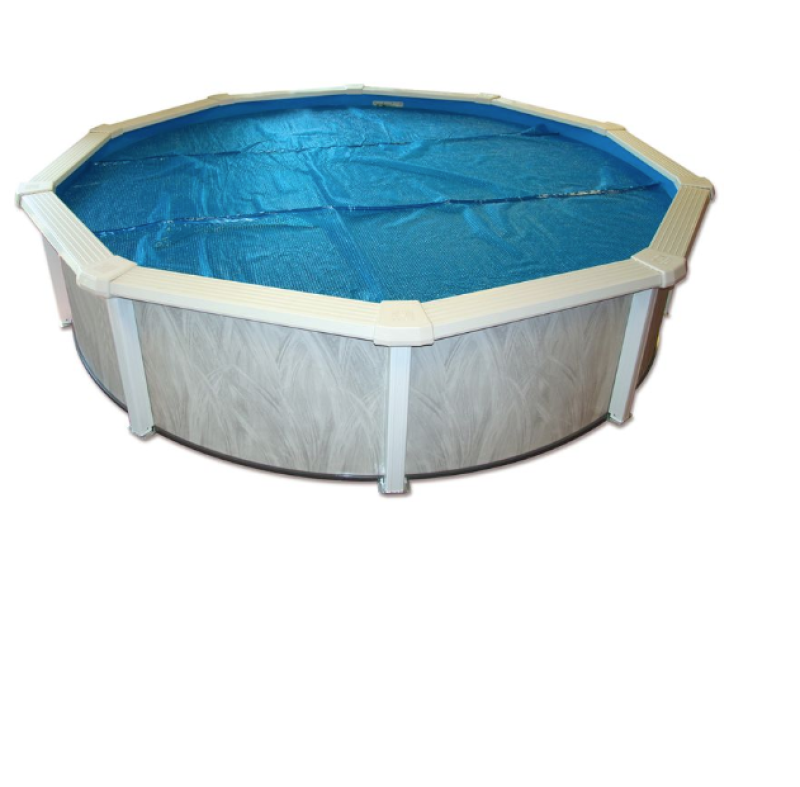
Steps 6 and 7: overwintering fluid and covering
Subtitel
Your pool is at risk of algae growth and scaling in winter. Winterisation fluid can offer a helping hand and help to keep your water clear and clean throughout the season. Once winter is over, you’ll find that your pool is quickly ready for use again.
Covering is the final step in readying your pool for winter. To cover your pool, you can use a winter tarpaulin.